Key Takeaways
- In PowerPoint, Picture Format → Remove Background is the fastest native way to isolate a subject.
- Set Transparent Color is useful only when the background is mostly one flat color.
- Better results come from choosing high-contrast source images and refining with Mark Areas to Keep/Remove.
- For hair, transparent objects, packaging edges, or batch production, AI cutout tools like Lumabox are more reliable and faster.
- A practical test protocol (edge quality, realism, and consistency) helps you decide whether PowerPoint alone is enough.
How to Change or Remove Picture Backgrounds in PowerPoint
If you searched for how to make picture background PowerPoint, you usually need one of two outcomes:
- remove a background behind a photo subject, or
- replace the entire slide background.
Most people mix these up, then wonder why their result looks rough or why the product edge looks jagged on projector screens. This guide gives you the exact PowerPoint steps, a troubleshooting workflow, and a clear decision rule for when to stay in PowerPoint vs when to use Lumabox for cleaner output.
If you're building a full visual workflow, this guide pairs well with our professional product photo editing guide.
First, choose the right PowerPoint method
PowerPoint has two image-level methods that people use for background edits.
| Method | Best for | Main limitation |
|---|---|---|
| Remove Background | Subject is clear and distinct from background | Can mis-detect edges around hair, glass, fur, or shadows |
| Set Transparent Color | Single-color, flat background areas | Removes only similar colors; poor for gradients/textures |
For full-slide styling, use Design → Format Background (that changes slide canvas, not the object-level photo cutout).
Method 1: Remove picture background in PowerPoint (recommended native path)
Use this for most cases where you want a person/product cutout.
Step-by-step
- Insert your image on the slide.
- Click the image.
- Open Picture Format on the ribbon.
- Select Remove Background.
- PowerPoint highlights removed areas in magenta.
- Use Mark Areas to Keep for parts incorrectly removed.
- Use Mark Areas to Remove for extra background still visible.
- Click Keep Changes.
What actually improves results
- Start with an image where subject and background are visibly different.
- Expand or shrink the selection box before detailed marking.
- Zoom in to at least 200% when refining edges.
- Make short mark strokes; large strokes often confuse segmentation.
Method 2: Set Transparent Color (only for simple backgrounds)
This method is useful when your background is a nearly solid color.
- Select image.
- Go to Picture Format.
- Choose Color → Set Transparent Color.
- Click the background color you want to remove.
If your background has gradients, shadows, or multiple tones, this method usually leaves ugly halos. In those cases, use Remove Background or switch to an AI cutout workflow.
Common failure cases and fast fixes
1) Hair, fur, lace, or translucent edges look broken
- Try tighter keep/remove marks near boundaries.
- If details still crumble, export and process with Lumabox cutout.
2) White product on light gray background disappears
- Increase contrast first (temporary edit), then run Remove Background.
- Or use AI masking that preserves subtle edge transitions.
3) Subject shadow gets removed but you need realism
- Keep a soft shadow in post-processing.
- If you replace the background later, recreate a light shadow to avoid a "floating" look.
4) Slide looks inconsistent across many images
- Native PowerPoint can work for one-off slides.
- For repeated deck production, use a batch-first tool path and standard output ratio.
When Lumabox is the better path
PowerPoint is convenient, but production teams hit limits quickly. Lumabox is usually the better choice when you need:
- cleaner edge fidelity for packaging, beauty, jewelry, or fabric,
- repeated outputs with consistent quality,
- a follow-on workflow after cutout (replace background, improve lighting, upscale).
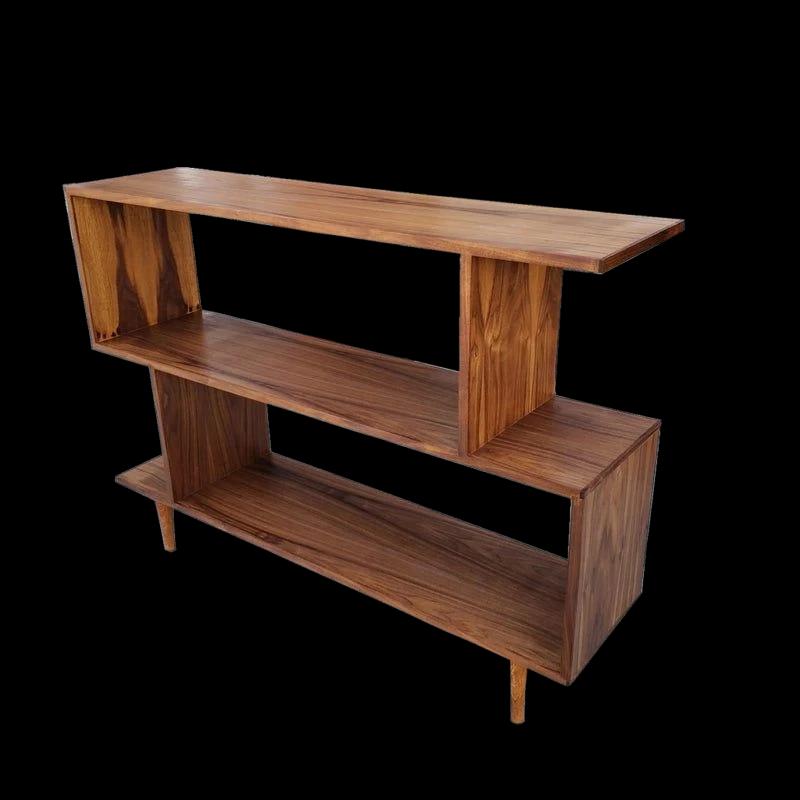
Here is a registry-backed before/after example using a completed background-removal task:

In practical terms: use PowerPoint for quick edits directly in a deck; use Lumabox when the image itself must be production-quality before it enters your deck.
Bridge to adjacent features (important in real workflows)
After cutout, many teams immediately do one more step: either apply controlled background replacement for brand consistency or run image enhancement before exporting slide assets. Treat those as follow-on workflow steps, not as a different tutorial goal.
A simple quality test protocol before final export
If you're not sure which path to trust, run this 4-point check:
- Identity preserved — Product shape/logo/text remains intact.
- Edge integrity — No obvious clipping around curved/complex boundaries.
- Realism — Subject does not look pasted; shadows and transition feel natural.
- Consistency — Results are repeatable across 5-10 similar images.
If PowerPoint fails 2+ checks, switch to Lumabox for primary cutout and re-import PNG/WebP into your presentation.
Recommended production workflow for teams
- Select final source images (high contrast, no compression artifacts).
- Try native PowerPoint Remove Background for quick pass.
- QA 4-point checklist above.
- For fails, process in Lumabox and export transparent background assets.
- Reinsert cleaned assets in PowerPoint.
- Apply final slide background style once visuals are approved.
This hybrid approach keeps design velocity high while protecting quality for client decks and sales presentations.
FAQ
Is PowerPoint good enough for professional background removal?
For simple subjects, yes. For detailed edges (hair, transparent packaging, reflective surfaces), PowerPoint is often inconsistent. Use it for quick edits, then move to Lumabox when quality or scale matters.
Why does Remove Background cut off part of my subject?
PowerPoint starts with an automatic subject guess. Adjust the bounding region and use Mark Areas to Keep/Remove in smaller strokes.
Should I use Set Transparent Color or Remove Background?
Use Set Transparent Color only when the background is one flat color. Use Remove Background for most real photos.
How do I decide between a tutorial-only workflow and Lumabox?
If your goal is a one-slide internal deck, native PowerPoint steps are usually enough. If your goal is repeatable, client-facing, conversion-sensitive visuals, use Lumabox as the image-production layer and PowerPoint as the assembly layer.
Ready to upgrade beyond one-off edits?
If your team is spending too much time manually fixing edges in slides, use Lumabox to create clean image assets first, then build the final deck with consistent quality.
Explore Lumabox workflows here: Pricing